
















How to Protect Your Temper Through the Tunnel
1. Zone Your Tunnel Correctly
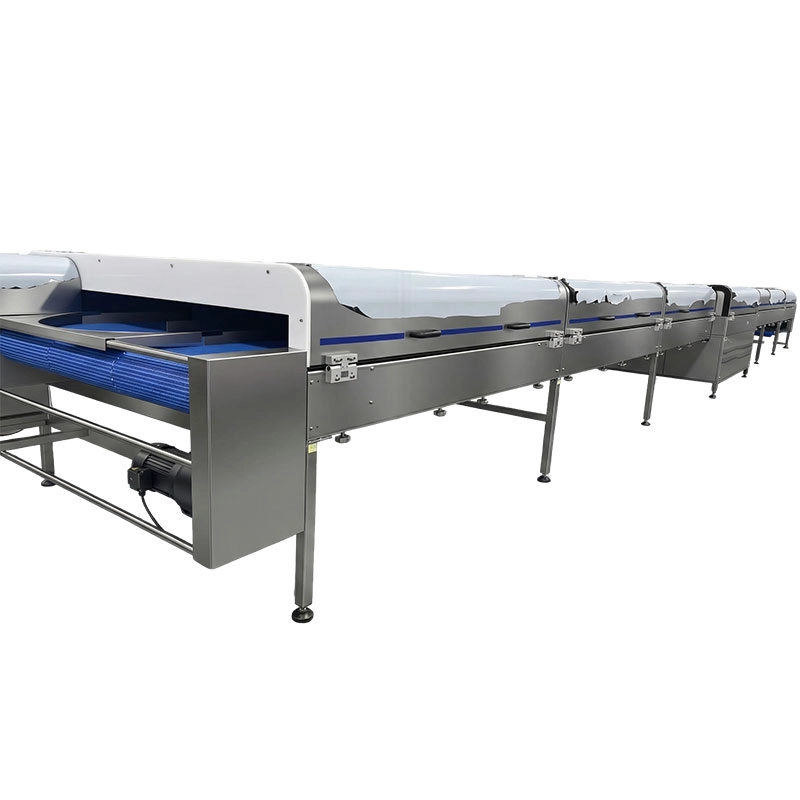
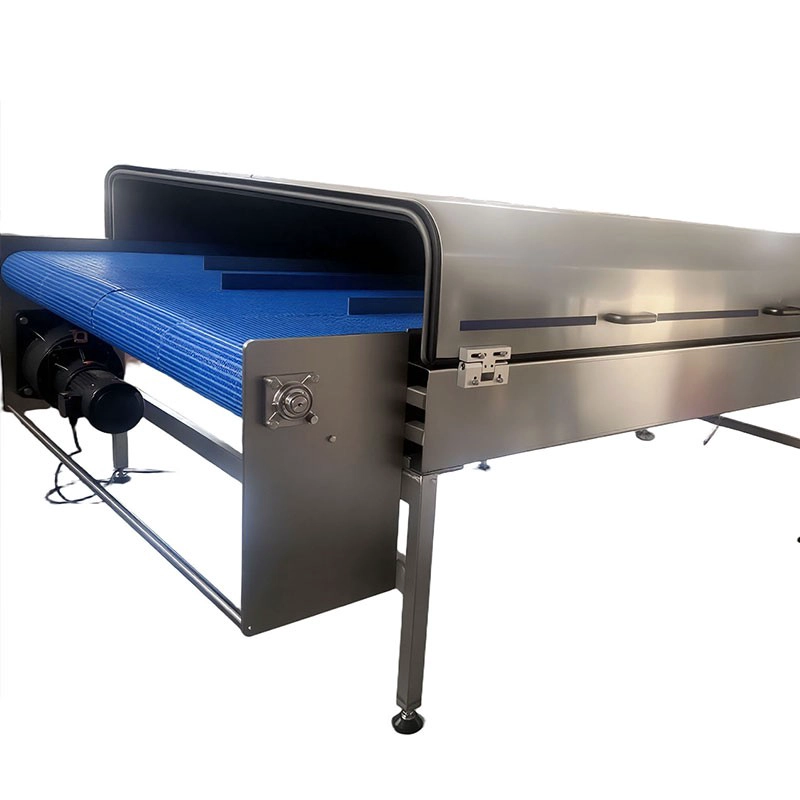
Never run a single-temperature tunnel. Use a graduated three-zone profile:
Entry: 60–65°F (15.6–18.3°C) with minimal air motion to allow gradual hardening
Middle: 45–50°F (7.2–10°C) for main crystallization once an insulating skin has formed
Exit: 55–60°F (12.8–15.6°C) to prevent condensation
2. Control Dew Point Relentlessly
At the cooling tunnel exit, the ambient dew point must be below the product surface temperature. A safety margin of at least 3°C is recommended: Tdp,ambient ≤ Tsurface,minimum − 3°C. For chocolate bar production with Texit = 12°C, target Tdp ≤ 9°Cdp. For white chocolate (high sugar, sensitive), Texit = 14°C → Tdp ≤ 11°Cdp.
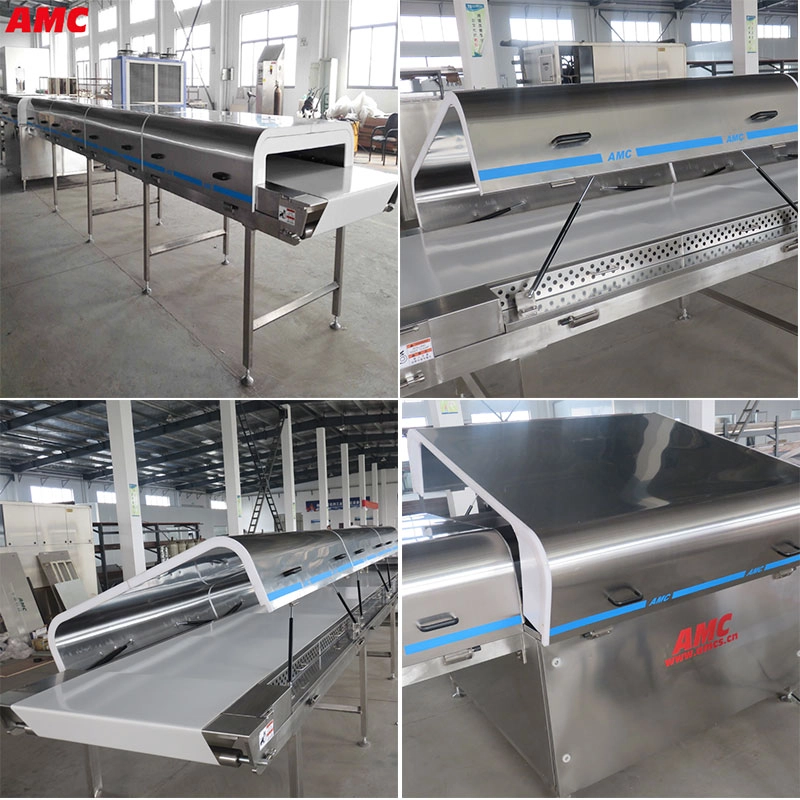
3. Size for Residence Time, Not Floor Space
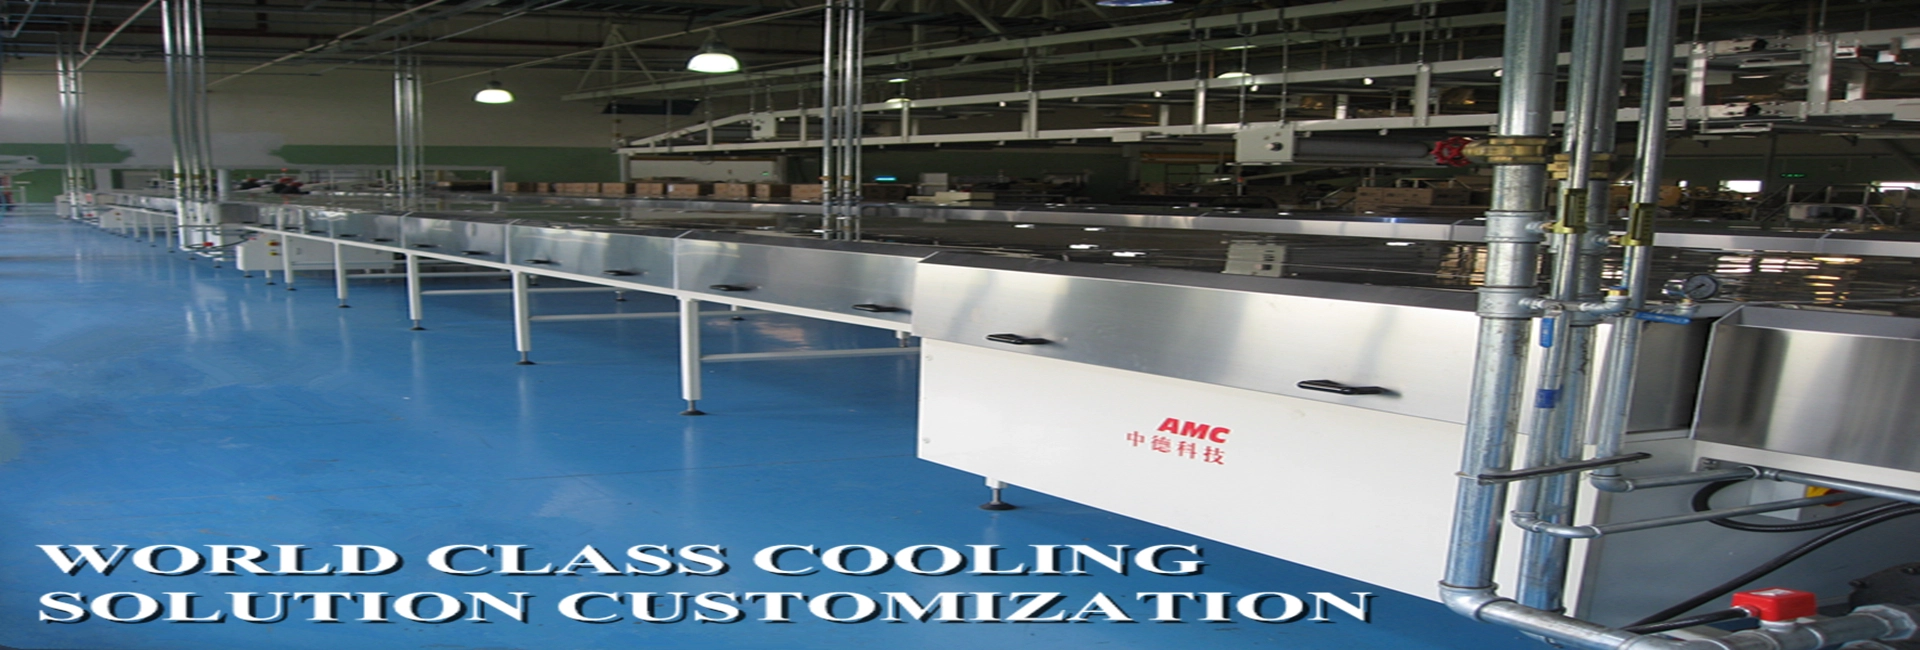
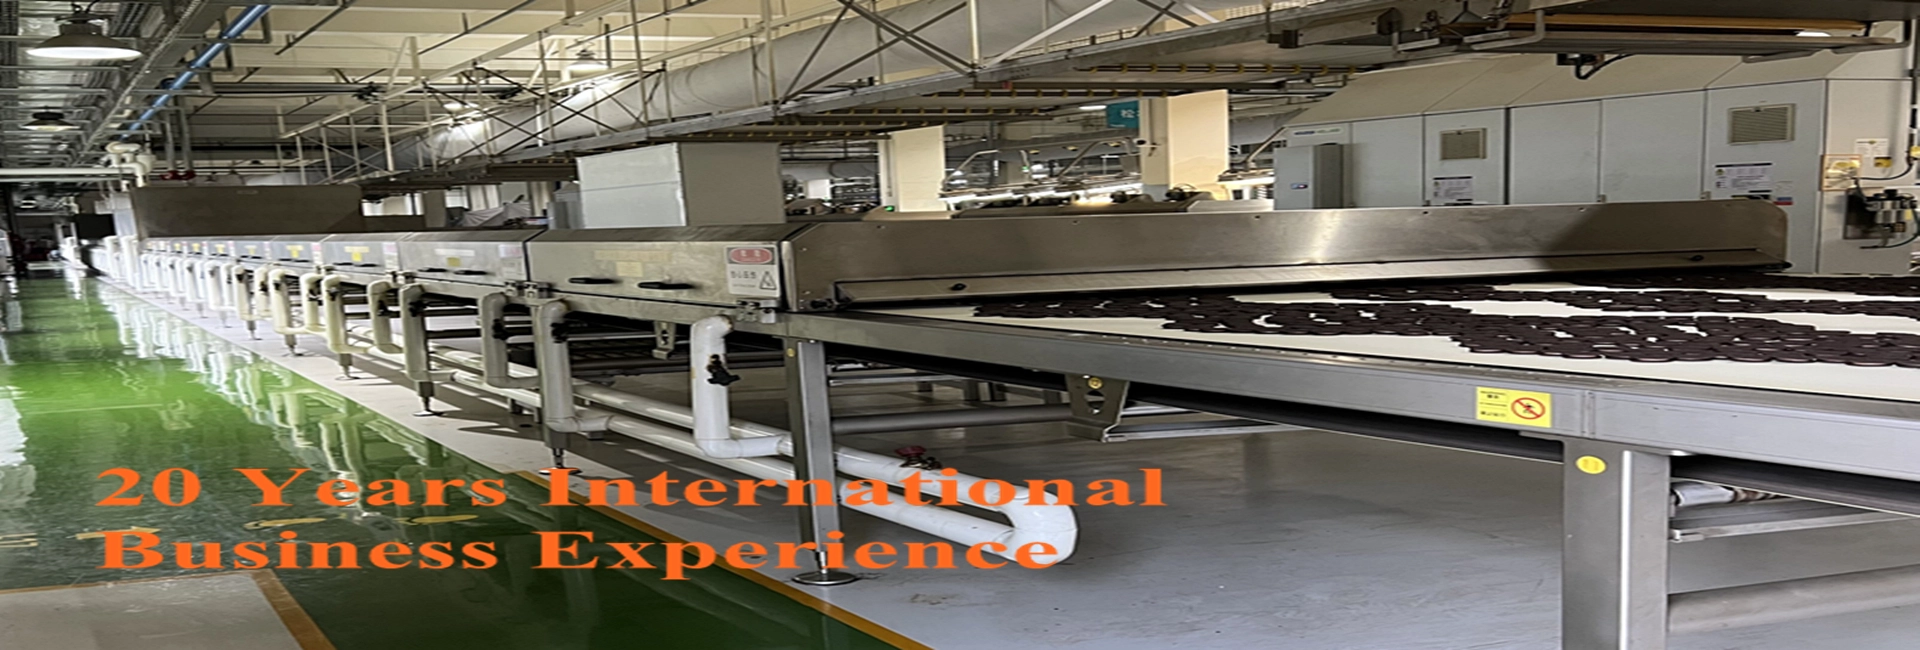
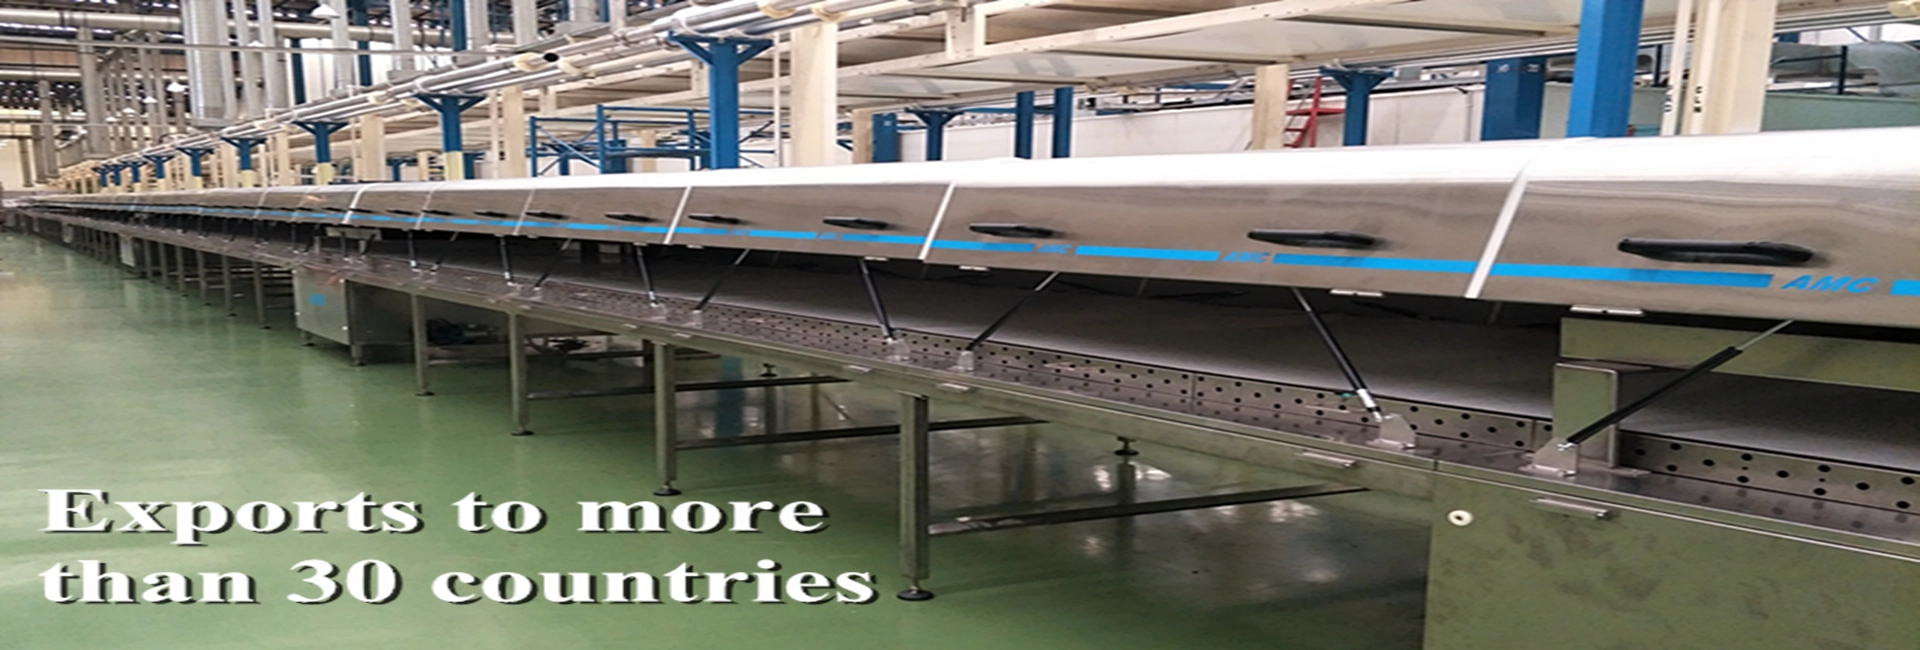
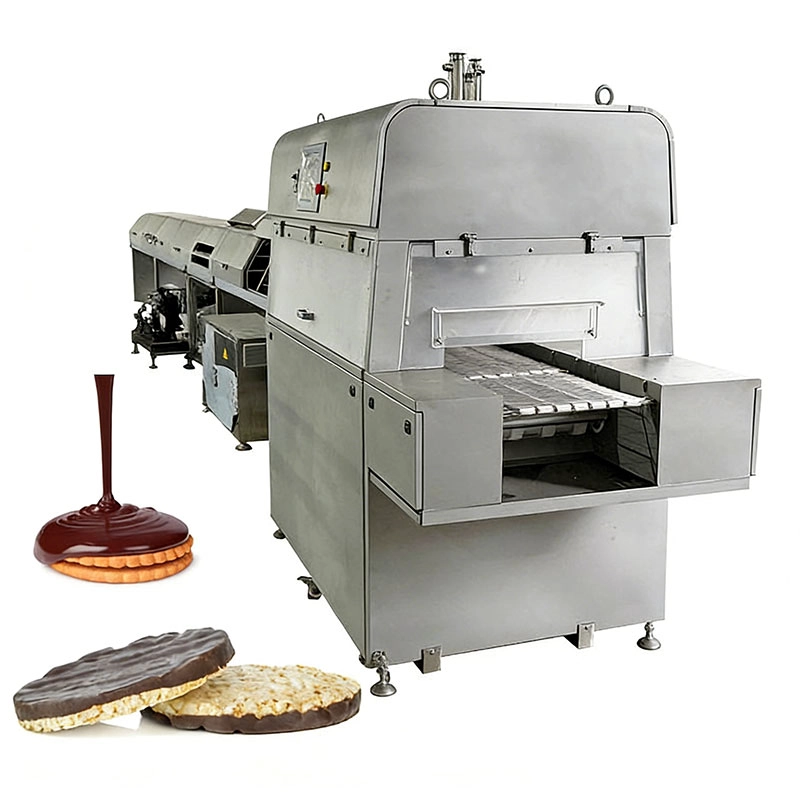
A tunnel's length must match your real belt speed and product requirements. The cheapest way to protect everything upstream is a cooling tunnel long enough and controlled enough to finish the job.
4. Avoid Startup Shock
Thermal shock commonly occurs at startup when the tunnel is very cold due to lack of product load. Activate the compressor just prior to enrobing rather than having it cool the tunnel for a substantial period of time beforehand.